# Using LDO to build a Solid Application for React
Solid separates the application from the storage, allowing users to put their data wherever they choose. Core to achieving this is application interoparability, the ability to use multiple apps on the same dataset. In order to make applications interoperable, Solid is standardized around RDF (Resource Description Framework), a standard for representing data. While RDF is extremely flexible, it is sometimes cumbersome to work with, that's where LDO (Linked Data Objects) comes in.
In this tutorial, we'll build a web application for Solid using React and LDO. LDO's react library, "@ldobjects/solid-react" is designed to make it easy to manipulate data on a Solid Pod.
We'll be making a simple micro-blogging website that allows you to write notes and upload photos.
// TODO insert image
This tutorial assumes that you are already familiar with React and the overall concepts associated with Solid.
## 1. Getting Started
First, we'll initialize the project. LDO is designed to work with TypeScript, so we want to initialize a typescript react project.
```bash
npx create-react-app my-solid-app --template typescript
cd my-solid-app
```
## 2. Setting up a basic app infrastructure
Before we can use LDO and connect to a Solid Pod, let's get the boilerplace React infrastructure out of the way. We'll set up a single page that renders your blog timeline and lets you make new posts, and we'll do this with 5 components:
**App.tsx**: Base of the application.
```tsx
import React, { FunctionComponent } from 'react';
import { Header } from './Header';
import { Blog } from './Blog';
export const App: FunctionComponent = () => {
return (
);
}
```
**Header.tsx**: A header component that will help the user log in.
```tsx
import { FunctionComponent } from "react";
export const Header: FunctionComponent = () => {
return (
Header
);
};
```
**Blog.tsx**: The main place for the blog timeline. We'll use this component to list all posts you've made.
```tsx
import { FunctionComponent } from "react";
import { MakePost } from "./MakePost";
import { Post } from "./Post";
export const Blog: FunctionComponent = () => {
return (
);
};
```
**MakePost.tsx**: A form to submit new posts. We've already wired it up with form elements to create a text body and upload an image for the post. We just need to fill out the `onSubmit` function.
```tsx
import { FormEvent, FunctionComponent, useCallback, useState } from "react";
export const MakePost: FunctionComponent = () => {
const [message, setMessage] = useState("");
const [selectedFile, setSelectedFile] = useState();
const onSubmit = useCallback(
(e: FormEvent) => {
e.preventDefault();
// TODO upload functionality
},
[message, selectedFile]
);
return (
);
};
```
**Post.tsx**: A component to render a single post.
```tsx
import { FunctionComponent } from "react";
export const Post: FunctionComponent = () => {
return (
Post
);
};
```
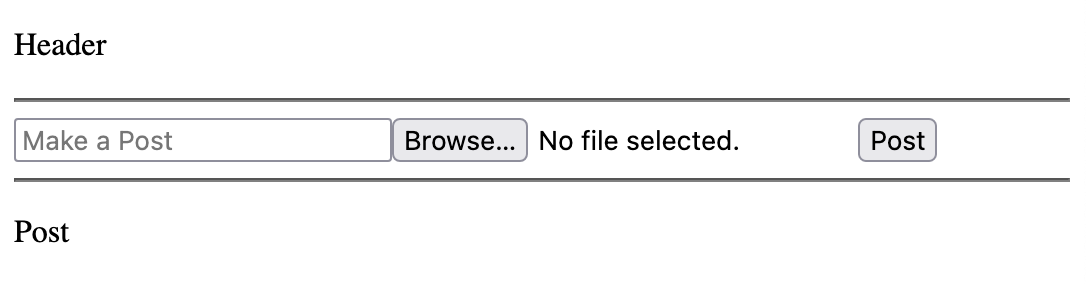
When everything's done, run `npm run start` and your application should look like this:
## Step 3: Installing LDO for Solid and React
With the main infrastructure set up, let's install LDO's Solid/React library.
```bash
npm install @ldobjects/solid-react
```
This library will give us many useful hooks and components for building a Solid application, but it can't be used unless we wrap the application in a provider. Because we're building a React application in the web browser, we'll wrap the application using the `BrowserSolidLdoProvider`.
**App.tsx**
```tsx
// ...
import { BrowserSolidLdoProvider } from '@ldobjects/solid-react';
export const App: FunctionComponent = () => {
return (
);
}
```
## 4. Implementing Login/Logout in the header
Setting up login for a Solid application is easy when you're using ldo's Solid React library. With the `useSolidAuth()` hook, you can get information and methods to setup login.
In the component below, we use the `session` object for information about the current session including `session.isLoggedIn`, a boolean indicating if the user is currently logged in, and `session.webId` to get the current user's webId. These will automatically update and rerender the component if anything changes about the current session.
Next we use the `login(issuer: string)` method to initiate a login. Because a Solid Pod could be anywhere onthe web, we first ask the user to enter their Solid issuer then provide that to the login function.
Finally, the `logout()` function lets you easily trigger a log out.
**Header.tsx**
```tsx
import { useSolidAuth } from "@ldobjects/solid-react";
import { FunctionComponent } from "react";
export const Header: FunctionComponent = () => {
const { session, login, logout } = useSolidAuth();
return (
{session.isLoggedIn ? (
// Is the session is logged in
You are logged in with the webId {session.webId}.{" "}
) : (
// If the session is not logged in
You are not Logged In{" "}
)}
);
};
```
Because `useSolidAuth` is a hook, you can use it anywhere in the application, even components that don't contain buttons for "login" and "logout." For example, we could use the `session` object in `Blog.tsx` to display a message if the user is not logged in.
```tsx
import { FunctionComponent } from "react";
import { MakePost } from "./MakePost";
import { Post } from "./Post";
import { useSolidAuth } from "@ldobjects/solid-react";
export const Blog: FunctionComponent = () => {
const { session } = useSolidAuth();
if (!session.isLoggedIn) return
No blog available. Log in first.
;
return (
// ..
);
};
```
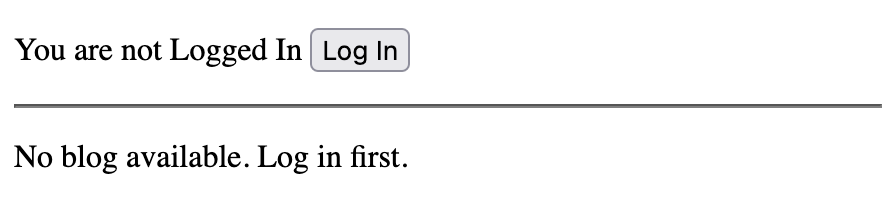
Once you've implemented these changes, the application should look like this when logged out:
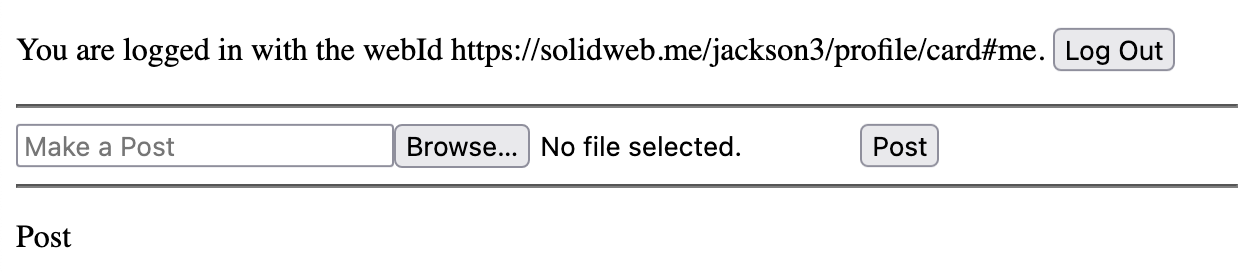
And this when logged in:
## 5. Setting up a shape
In step 6, we're going to use information from a user's Solid WebId profile. But, before we can do that, we want to set up a shape for the Solid Profile.
LDO uses ShEx "Shapes" as schemas to describe how data looks in an application. We can get started by using the `init` command line tool to get the project ready to use shapes.
```bash
npx @ldobjects/cli init
```