13 KiB
Using LDO to build a Solid Application for React
Solid separates the application from the storage, allowing users to put their data wherever they choose. Core to achieving this is application interoparability, the ability to use multiple apps on the same dataset. In order to make applications interoperable, Solid is standardized around RDF (Resource Description Framework), a standard for representing data. While RDF is extremely flexible, it is sometimes cumbersome to work with, that's where LDO (Linked Data Objects) comes in.
In this tutorial, we'll build a web application for Solid using React and LDO. LDO's react library, "@ldobjects/solid-react" is designed to make it easy to manipulate data on a Solid Pod.
We'll be making a simple micro-blogging website that allows you to write notes and upload photos.
// TODO insert image
This tutorial assumes that you are already familiar with React and the overall concepts associated with Solid.
1. Getting Started
First, we'll initialize the project. LDO is designed to work with TypeScript, so we want to initialize a typescript react project.
npx create-react-app my-solid-app --template typescript
cd my-solid-app
2. Setting up a basic app infrastructure
Before we can use LDO and connect to a Solid Pod, let's get the boilerplace React infrastructure out of the way. We'll set up a single page that renders your blog timeline and lets you make new posts, and we'll do this with 5 components:
App.tsx: Base of the application.
import React, { FunctionComponent } from 'react';
import { Header } from './Header';
import { Blog } from './Blog';

export const App: FunctionComponent = () => {
  return (
    <div className="App">
      <Header />
      <Blog />
    </div>
  );
}
Header.tsx: A header component that will help the user log in.
import { FunctionComponent } from "react";

export const Header: FunctionComponent = () => {
  return (
    <header>
      <p>Header</p>
      <hr />
    </header>
  );
};
Blog.tsx: The main place for the blog timeline. We'll use this component to list all posts you've made.
import { FunctionComponent } from "react";
import { MakePost } from "./MakePost";
import { Post } from "./Post";

export const Blog: FunctionComponent = () => {
  return (
    <main>
      <MakePost />
      <hr />
      <Post />
    </main>
  );
};
MakePost.tsx: A form to submit new posts. We've already wired it up with form elements to create a text body and upload an image for the post. We just need to fill out the onSubmit function.
import { FormEvent, FunctionComponent, useCallback, useState } from "react";

export const MakePost: FunctionComponent = () => {
  const [message, setMessage] = useState("");
  const [selectedFile, setSelectedFile] = useState<File | undefined>();

  const onSubmit = useCallback(
    (e: FormEvent<HTMLFormElement>) => {
      e.preventDefault();

      // TODO upload functionality
    },
    [message, selectedFile]
  );

  return (
    <form onSubmit={onSubmit}>
      <input
        type="text"
        placeholder="Make a Post"
        value={message}
        onChange={(e) => setMessage(e.target.value)}
      />
      <input
        type="file"
        accept="image/*"
        onChange={(e) => setSelectedFile(e.target.files?.[0])}
      />
      <input type="submit" value="Post" />
    </form>
  );
};
Post.tsx: A component to render a single post.
import { FunctionComponent } from "react";

export const Post: FunctionComponent = () => {
  return (
    <div>
      <p>Post</p>
    </div>
  );
};
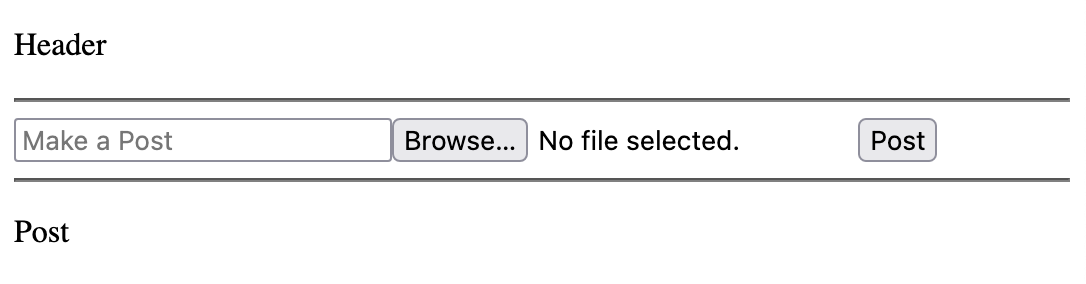
When everything's done, run npm run start and your application should look like this:
Step 3: Installing LDO for Solid and React
With the main infrastructure set up, let's install LDO's Solid/React library.
npm install @ldobjects/solid-react
This library will give us many useful hooks and components for building a Solid application, but it can't be used unless we wrap the application in a provider. Because we're building a React application in the web browser, we'll wrap the application using the BrowserSolidLdoProvider.
App.tsx
// ...
import { BrowserSolidLdoProvider } from '@ldobjects/solid-react';

export const App: FunctionComponent = () => {
  return (
    <div className="App">
      <BrowserSolidLdoProvider>
        <Header />
        <Blog />
      </BrowserSolidLdoProvider>
    </div>
  );
}
4. Implementing Login/Logout in the header
Setting up login for a Solid application is easy when you're using ldo's Solid React library. With the useSolidAuth() hook, you can get information and methods to setup login.
In the component below, we use the session object for information about the current session including session.isLoggedIn, a boolean indicating if the user is currently logged in, and session.webId to get the current user's webId. These will automatically update and rerender the component if anything changes about the current session.
Next we use the login(issuer: string) method to initiate a login. Because a Solid Pod could be anywhere onthe web, we first ask the user to enter their Solid issuer then provide that to the login function.
Finally, the logout() function lets you easily trigger a log out.
Header.tsx
import { useSolidAuth } from "@ldobjects/solid-react";
import { FunctionComponent } from "react";

export const Header: FunctionComponent = () => {
  const { session, login, logout } = useSolidAuth();

  return (
    <header>
      {session.isLoggedIn ? (
        // Is the session is logged in
        <p>
          You are logged in with the webId {session.webId}.{" "}
          <button onClick={logout}>Log Out</button>
        </p>
      ) : (
        // If the session is not logged in
        <p>
          You are not Logged In{" "}
          <button
            onClick={() => {
              // Get the Solid issuer the user should log into
              const issuer = prompt(
                "Enter your Solid Issuer",
                "https://solidweb.me"
              );
              if (!issuer) return;
              login(issuer);
            }}
          >
            Log In
          </button>
        </p>
      )}
      <hr />
    </header>
  );
};
Because useSolidAuth is a hook, you can use it anywhere in the application, even components that don't contain buttons for "login" and "logout." For example, we could use the session object in Blog.tsx to display a message if the user is not logged in.
import { FunctionComponent } from "react";
import { MakePost } from "./MakePost";
import { Post } from "./Post";
import { useSolidAuth } from "@ldobjects/solid-react";

export const Blog: FunctionComponent = () => {
  const { session } = useSolidAuth();
  if (!session.isLoggedIn) return <p>No blog available. Log in first.</p>;

  return (
    <main>
      // ..
    </main>
  );
};
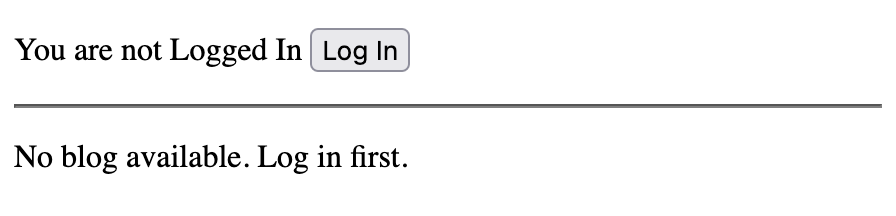
Once you've implemented these changes, the application should look like this when logged out:
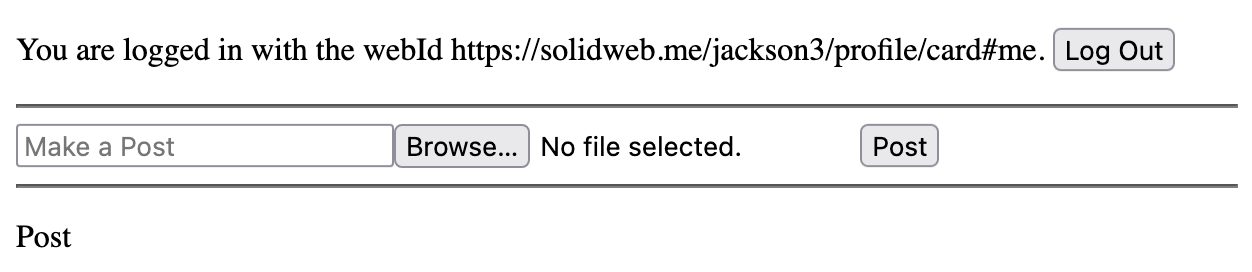
And this when logged in:
5. Setting up a shape
In step 6, we're going to use information from a user's Solid WebId profile. But, before we can do that, we want to set up a shape for the Solid Profile.
LDO uses ShEx "Shapes" as schemas to describe how data looks in an application. We can get started by using the init command line tool to get the project ready to use shapes.
npx @ldobjects/cli init
This command will install required libraries and creates two folders: the .shapes folder and the .ldo folder.
If you look in the .shapes folder, you'll find a default file called foafProfile.shex. This is a ShEx shape that defines a very simplified profile object.
If you look in the .ldo folder, you'll files generated from the shape. For example, foafProfile.typings.ts contains the Typescript typings associated with the shape, foafProfile.context.ts conatians a JSON-LD context for the shape, and foafProfile.shapeTypes.ts contains a shape type, a special object that groups all the information for a shape together. We'll be using ShapeTypes later in this tutorial.
For our project, we want to use a Solid Profile, so let's delete the "foafProfile" ShEx shape and make a new file for our Solid profile.
rm ./src/.shapes/foafProfile.shex
touch ./src/.shapes/solidProfile.shex
Now, let's create a shape for the Solid Profile. The code for a Solid profile is listed below, but you can learn more about creating ShEx shapes of your own on the ShEx website
PREFIX srs: <https://shaperepo.com/schemas/solidProfile#>
PREFIX foaf: <http://xmlns.com/foaf/0.1/>
PREFIX rdfs: <http://www.w3.org/2000/01/rdf-schema#>
PREFIX schem: <http://schema.org/>
PREFIX vcard: <http://www.w3.org/2006/vcard/ns#>
PREFIX xsd: <http://www.w3.org/2001/XMLSchema#>
PREFIX acl: <http://www.w3.org/ns/auth/acl#>
PREFIX cert:  <http://www.w3.org/ns/auth/cert#>
PREFIX ldp: <http://www.w3.org/ns/ldp#>
PREFIX sp: <http://www.w3.org/ns/pim/space#>
PREFIX solid: <http://www.w3.org/ns/solid/terms#>

srs:SolidProfileShape EXTRA a {
  a [ schem:Person ]
    // rdfs:comment  "Defines the node as a Person (from Schema.org)" ;
  a [ foaf:Person ]
    // rdfs:comment  "Defines the node as a Person (from foaf)" ;
  vcard:fn xsd:string ?
    // rdfs:comment  "The formatted name of a person. Example: John Smith" ;
  foaf:name xsd:string ?
    // rdfs:comment  "An alternate way to define a person's name." ;
  vcard:hasAddress @srs:AddressShape *
    // rdfs:comment  "The person's street address." ;
  vcard:hasEmail @srs:EmailShape *
    // rdfs:comment  "The person's email." ;
  vcard:hasPhoto IRI ?
    // rdfs:comment  "A link to the person's photo" ;
  foaf:img xsd:string ?
    // rdfs:comment  "Photo link but in string form" ;
  vcard:hasTelephone @srs:PhoneNumberShape *
    // rdfs:comment  "Person's telephone number" ;
  vcard:phone xsd:string ?
    // rdfs:comment  "An alternative way to define a person's telephone number using a string" ;
  vcard:organization-name xsd:string ?
    // rdfs:comment  "The name of the organization with which the person is affiliated" ;
  vcard:role xsd:string ?
    // rdfs:comment  "The name of the person's role in their organization" ;
  acl:trustedApp @srs:TrustedAppShape *
    // rdfs:comment  "A list of app origins that are trusted by this user" ;
  cert:key @srs:RSAPublicKeyShape *
    // rdfs:comment  "A list of RSA public keys that are associated with private keys the user holds." ;
  ldp:inbox IRI
    // rdfs:comment  "The user's LDP inbox to which apps can post notifications" ;
  sp:preferencesFile IRI ?
    // rdfs:comment  "The user's preferences" ;
  sp:storage IRI *
    // rdfs:comment  "The location of a Solid storage server related to this WebId" ;
  solid:account IRI ?
    // rdfs:comment  "The user's account" ;
  solid:privateTypeIndex IRI *
    // rdfs:comment  "A registry of all types used on the user's Pod (for private access only)" ;
  solid:publicTypeIndex IRI *
    // rdfs:comment  "A registry of all types used on the user's Pod (for public access)" ;
  foaf:knows IRI *
    // rdfs:comment  "A list of WebIds for all the people this user knows." ;
}

srs:AddressShape {
  vcard:country-name xsd:string ?
    // rdfs:comment  "The name of the user's country of residence" ;
  vcard:locality xsd:string ?
    // rdfs:comment  "The name of the user's locality (City, Town etc.) of residence" ;
  vcard:postal-code xsd:string ?
    // rdfs:comment  "The user's postal code" ;
  vcard:region xsd:string ?
    // rdfs:comment  "The name of the user's region (State, Province etc.) of residence" ;
  vcard:street-address xsd:string ?
    // rdfs:comment  "The user's street address" ;
}

srs:EmailShape EXTRA a {
  a [
    vcard:Dom
    vcard:Home
    vcard:ISDN
    vcard:Internet
    vcard:Intl
    vcard:Label
    vcard:Parcel
    vcard:Postal
    vcard:Pref
    vcard:Work
    vcard:X400
  ] ?
    // rdfs:comment  "The type of email." ;
  vcard:value IRI
    // rdfs:comment  "The value of an email as a mailto link (Example <mailto:jane@example.com>)" ;
}

srs:PhoneNumberShape EXTRA a {
  a [
    vcard:Dom
    vcard:Home
    vcard:ISDN
    vcard:Internet
    vcard:Intl
    vcard:Label
    vcard:Parcel
    vcard:Postal
    vcard:Pref
    vcard:Work
    vcard:X400
  ] ?
    // rdfs:comment  "They type of Phone Number" ;
  vcard:value IRI
    // rdfs:comment  "The value of a phone number as a tel link (Example <tel:555-555-5555>)" ;
}

srs:TrustedAppShape {
  acl:mode [acl:Append acl:Control acl:Read acl:Write] +
    // rdfs:comment  "The level of access provided to this origin" ;
  acl:origin IRI
    // rdfs:comment "The app origin the user trusts"
}

srs:RSAPublicKeyShape {
  cert:modulus xsd:string
    // rdfs:comment  "RSA Modulus" ;
  cert:exponent xsd:integer
    // rdfs:comment  "RSA Exponent" ;
}
Finally, we can run the command below to build the Solid Profile shape.
npm run build:ldo
You'll notice that the .ldo folder contains information about a solid profile.
6. Fetching and using information
Let's go back to the header we built. Yeah it's cool, but if your profile includes a name, wouldn't it be better if it said, "You are logged in as Jackson Morgan" rather than "You are logged in with the webId https://solidweb.me/jackson3/profile/card#me?"
Well, we can fix that by retrieving the user's profile document and using the data from it.